
How to buy tickets
Buying on eventwave.hr takes a couple of minutes. Here’s what the whole journey looks like.
1. Find an event
Section titled “1. Find an event”- Search at the top of the homepage looks through events and venues (type at least 3 letters).
- Filters: category, city or venue, and date (Today, Tomorrow, Weekend, This week or an exact date). Filters are remembered in the page address, so you can share the link.
- The timeline on the homepage browses events week by week, and below it are all upcoming events.
- Pages by category and city, plus the list of all venues and sales outlets.
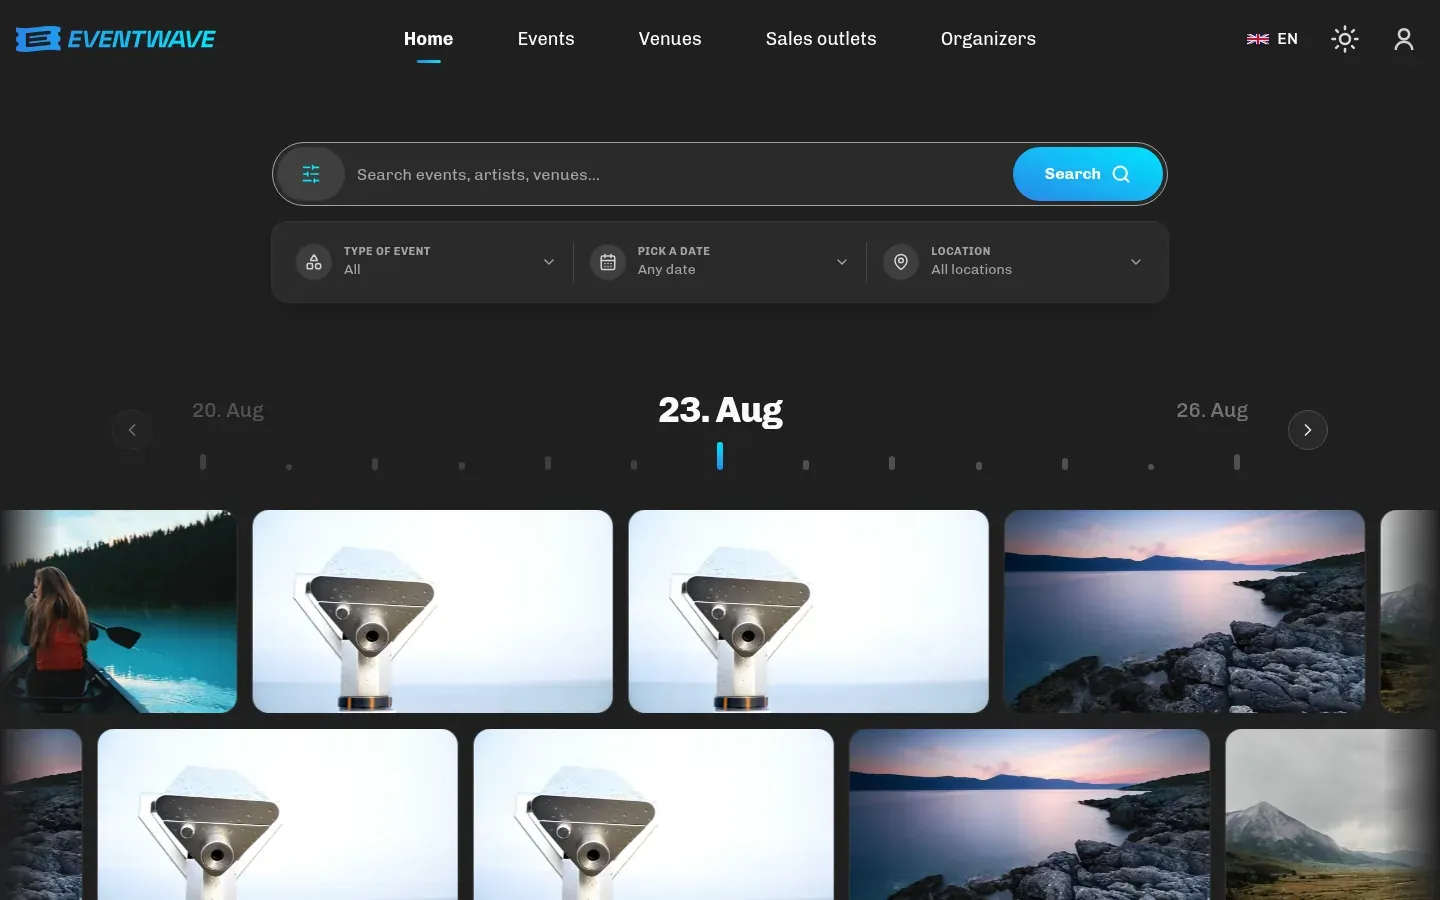
On an event card, the NEW badge means the event was added to Eventwave within the last 24 hours, and Almost sold out means tickets are running low.
2. The event page
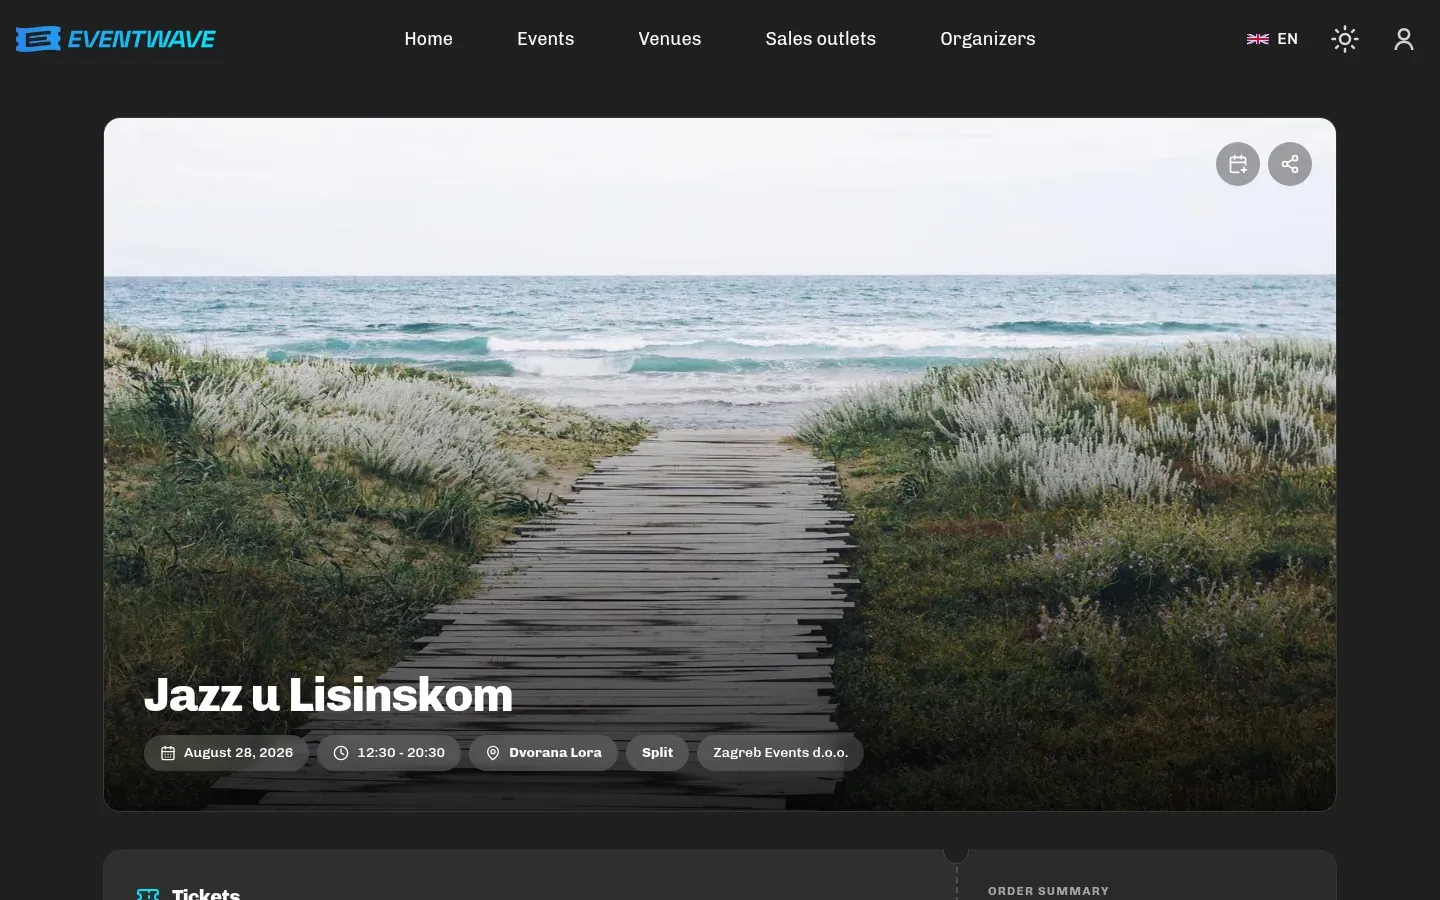
Section titled “2. The event page”On the event page you can see the date and time (and “Doors open” if the organizer set it), the venue with a map, the description, a countdown to the start, the frequently asked questions the organizer added, and their contact details. You can share the event or add it to your calendar (Google, Outlook, Apple, .ics).
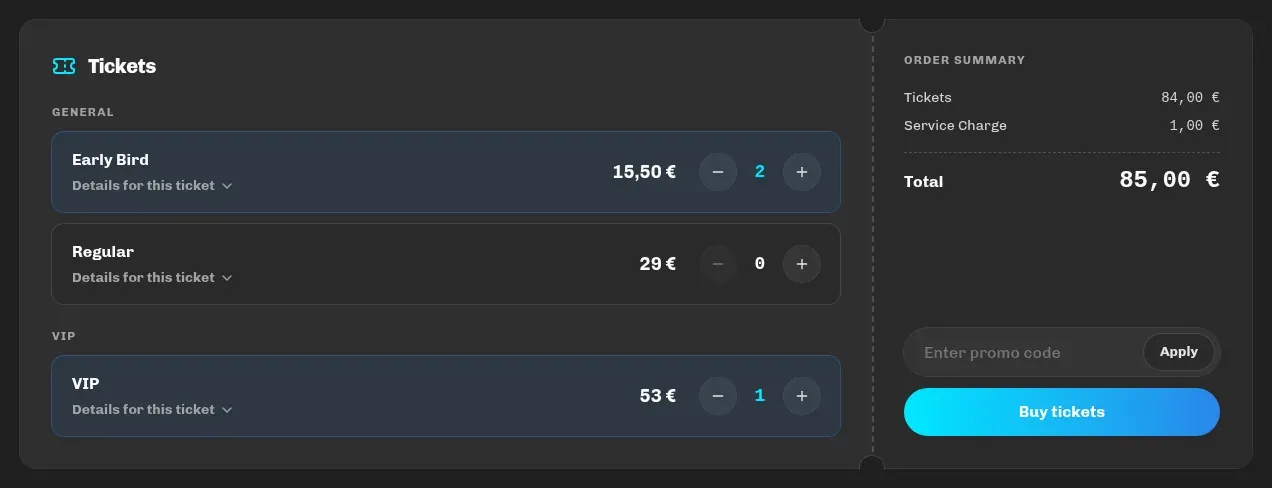
The purchase block looks like a ticket:
- on the left are the ticket categories (e.g. Early Bird, Basic, VIP) with the price and − / + quantity buttons; some categories have a button with extra information,
- on the right is the order summary: tickets, service charge, any discount and the total,
- the promo code field (see Promo codes),
- the Buy tickets button.
What you may see next to a category:
| Label | Meaning |
|---|---|
| SOLD OUT | No tickets left in that category. |
| Almost sold out | Only a few tickets left. |
| The + button is greyed out | You’ve reached the per-order maximum the organizer set (10 per order when they set none), or the remaining stock. |
| The category isn’t listed | It isn’t currently on sale (sales haven’t started or have ended) or the organizer has hidden it. |
Some categories have a minimum quantity (e.g. a bundle of 4), and the + button then jumps straight to that number.
3. Checkout
Section titled “3. Checkout”Clicking Buy tickets opens the checkout. At that moment the system reserves your tickets for 20 minutes, and you can see the countdown at the top right (“Time left to finish transaction”). During that time nobody else can buy those exact tickets.
At checkout:
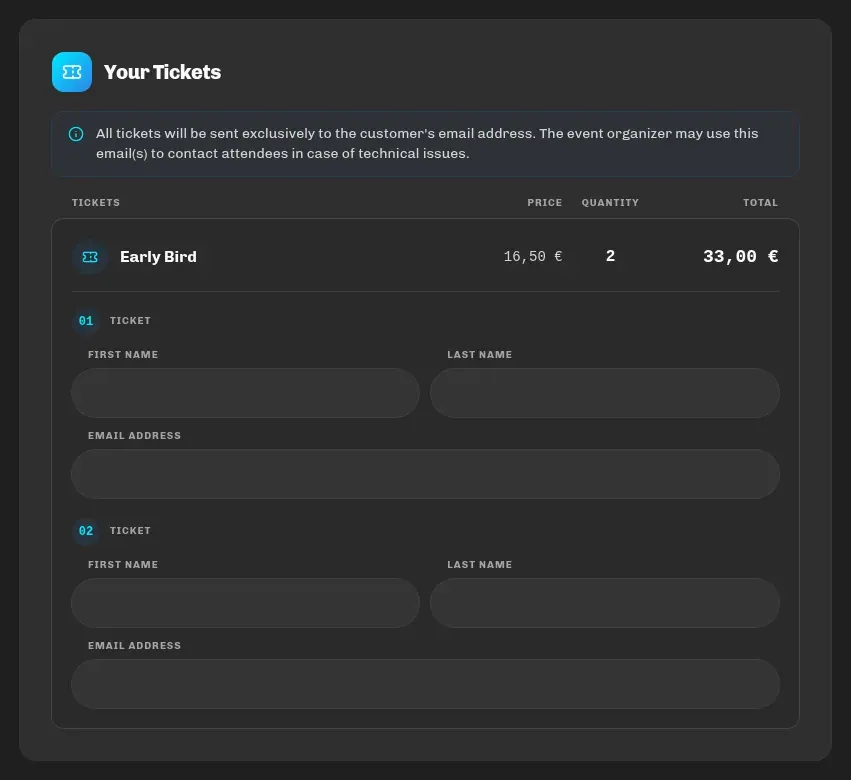
- Review your tickets: a table with the price, quantity and line amount. If the organizer is not in the VAT system, “(No VAT)” is shown next to the price.
- Attendee details: only if the organizer enabled personalized tickets: for each ticket you enter the first name, last name and email of the person attending. Otherwise all tickets are issued to the buyer.
- Ticket insurance: if it’s offered for that event, you must pick one of two options: I want to insure tickets (recommended) or I don’t want to insure tickets. Without a choice the page says “Please choose whether you want ticket insurance to continue.” Some events don’t offer insurance at all, and then this step doesn’t appear. See Payment.
- Payer information: first name, last name, address, postal code, city, country, email and phone (all required; the phone is 8 to 15 digits, optionally with a leading
+). If you’re logged in, the fields are filled in from your profile. Optionally: an R1 (business) invoice for a company (company name, OIB, address) and signing up for the organizer’s notifications about similar events. - Terms: a checkbox for the General Terms and Conditions, the Terms of Sale and the Personal Data Protection Statement.
- Log in: you must be logged in to complete the purchase. If you’re not, a login/registration dialog opens at checkout (Google, Facebook or email). Your ticket selection and reservation are kept.
- Pay: you’re redirected to the secure card payment form (WSPay). See Payment.
4. Confirmation
Section titled “4. Confirmation”After paying you return to Eventwave, to the order page. It can be in one of five states:
| Status | Meaning |
|---|---|
| Payment Successful | The order is paid; the tickets and the receipt arrive by email within a few minutes (see Your tickets). The button takes you to My tickets. |
| Awaiting Payment | You haven’t completed the payment; you have 15 minutes and a Pay Now button. See Payment. |
| Payment Failed | “Your payment could not be processed”: your card was not charged, try again. |
| Order Canceled | You backed out on WSPay, or you started a new purchase for the same event so the older order was canceled. Your card was not charged. |
| Order Expired | The payment window passed and the order wasn’t paid. Start the purchase over. |
If the 15-minute window runs out while you’re on the order page, it shows Reservation expired: “The payment window for this order has passed and the tickets are no longer reserved.”
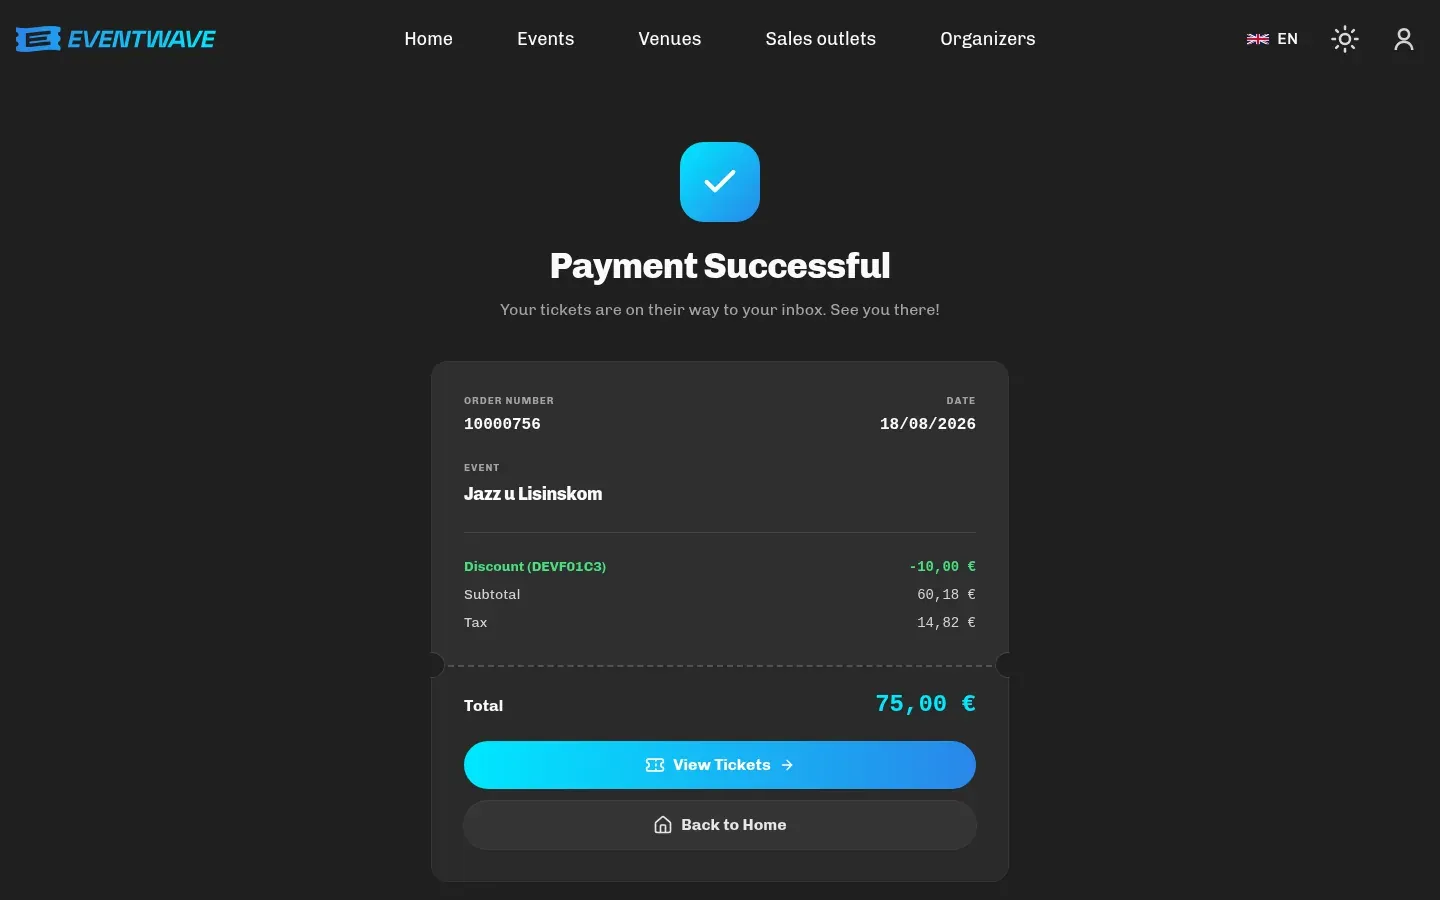
The order page shows the order number, date, event, discount, subtotal, tax and total.
Limits that apply to everyone
Section titled “Limits that apply to everyone”| Rule | Value |
|---|---|
| Checkout reservation | 20 minutes, never extended |
| Payment window after submitting an order | 15 minutes |
| Cart | one event at a time; opening another event clears the previous selection |
| Quantity per category | per the organizer’s settings (min/max per order; 10 per order when no max is set) and remaining stock |
| Simultaneous reservations | limited per internet address |
| Buying without an account | not possible, you need to log in (free account) |
| Currency | EUR |