
Scanners and door staff
Tickets at the door are checked by your staff with the free scanner app on their own phones: scanner.eventwave.hr. No special hardware. How the app works is described in the Scanner app section. Send that link to your staff.
What a scanning person needs
Section titled “What a scanning person needs”- An Eventwave account (free, at eventwave.hr), with the email address you will enter. The account must exist before you add them; otherwise you get a message that the user was not found.
- An assignment to your event (below).
- A phone with a camera and internet.
The organizer can scan too, but you must add yourself as a scanner; the organizer account does not get that right automatically.
Adding scanners
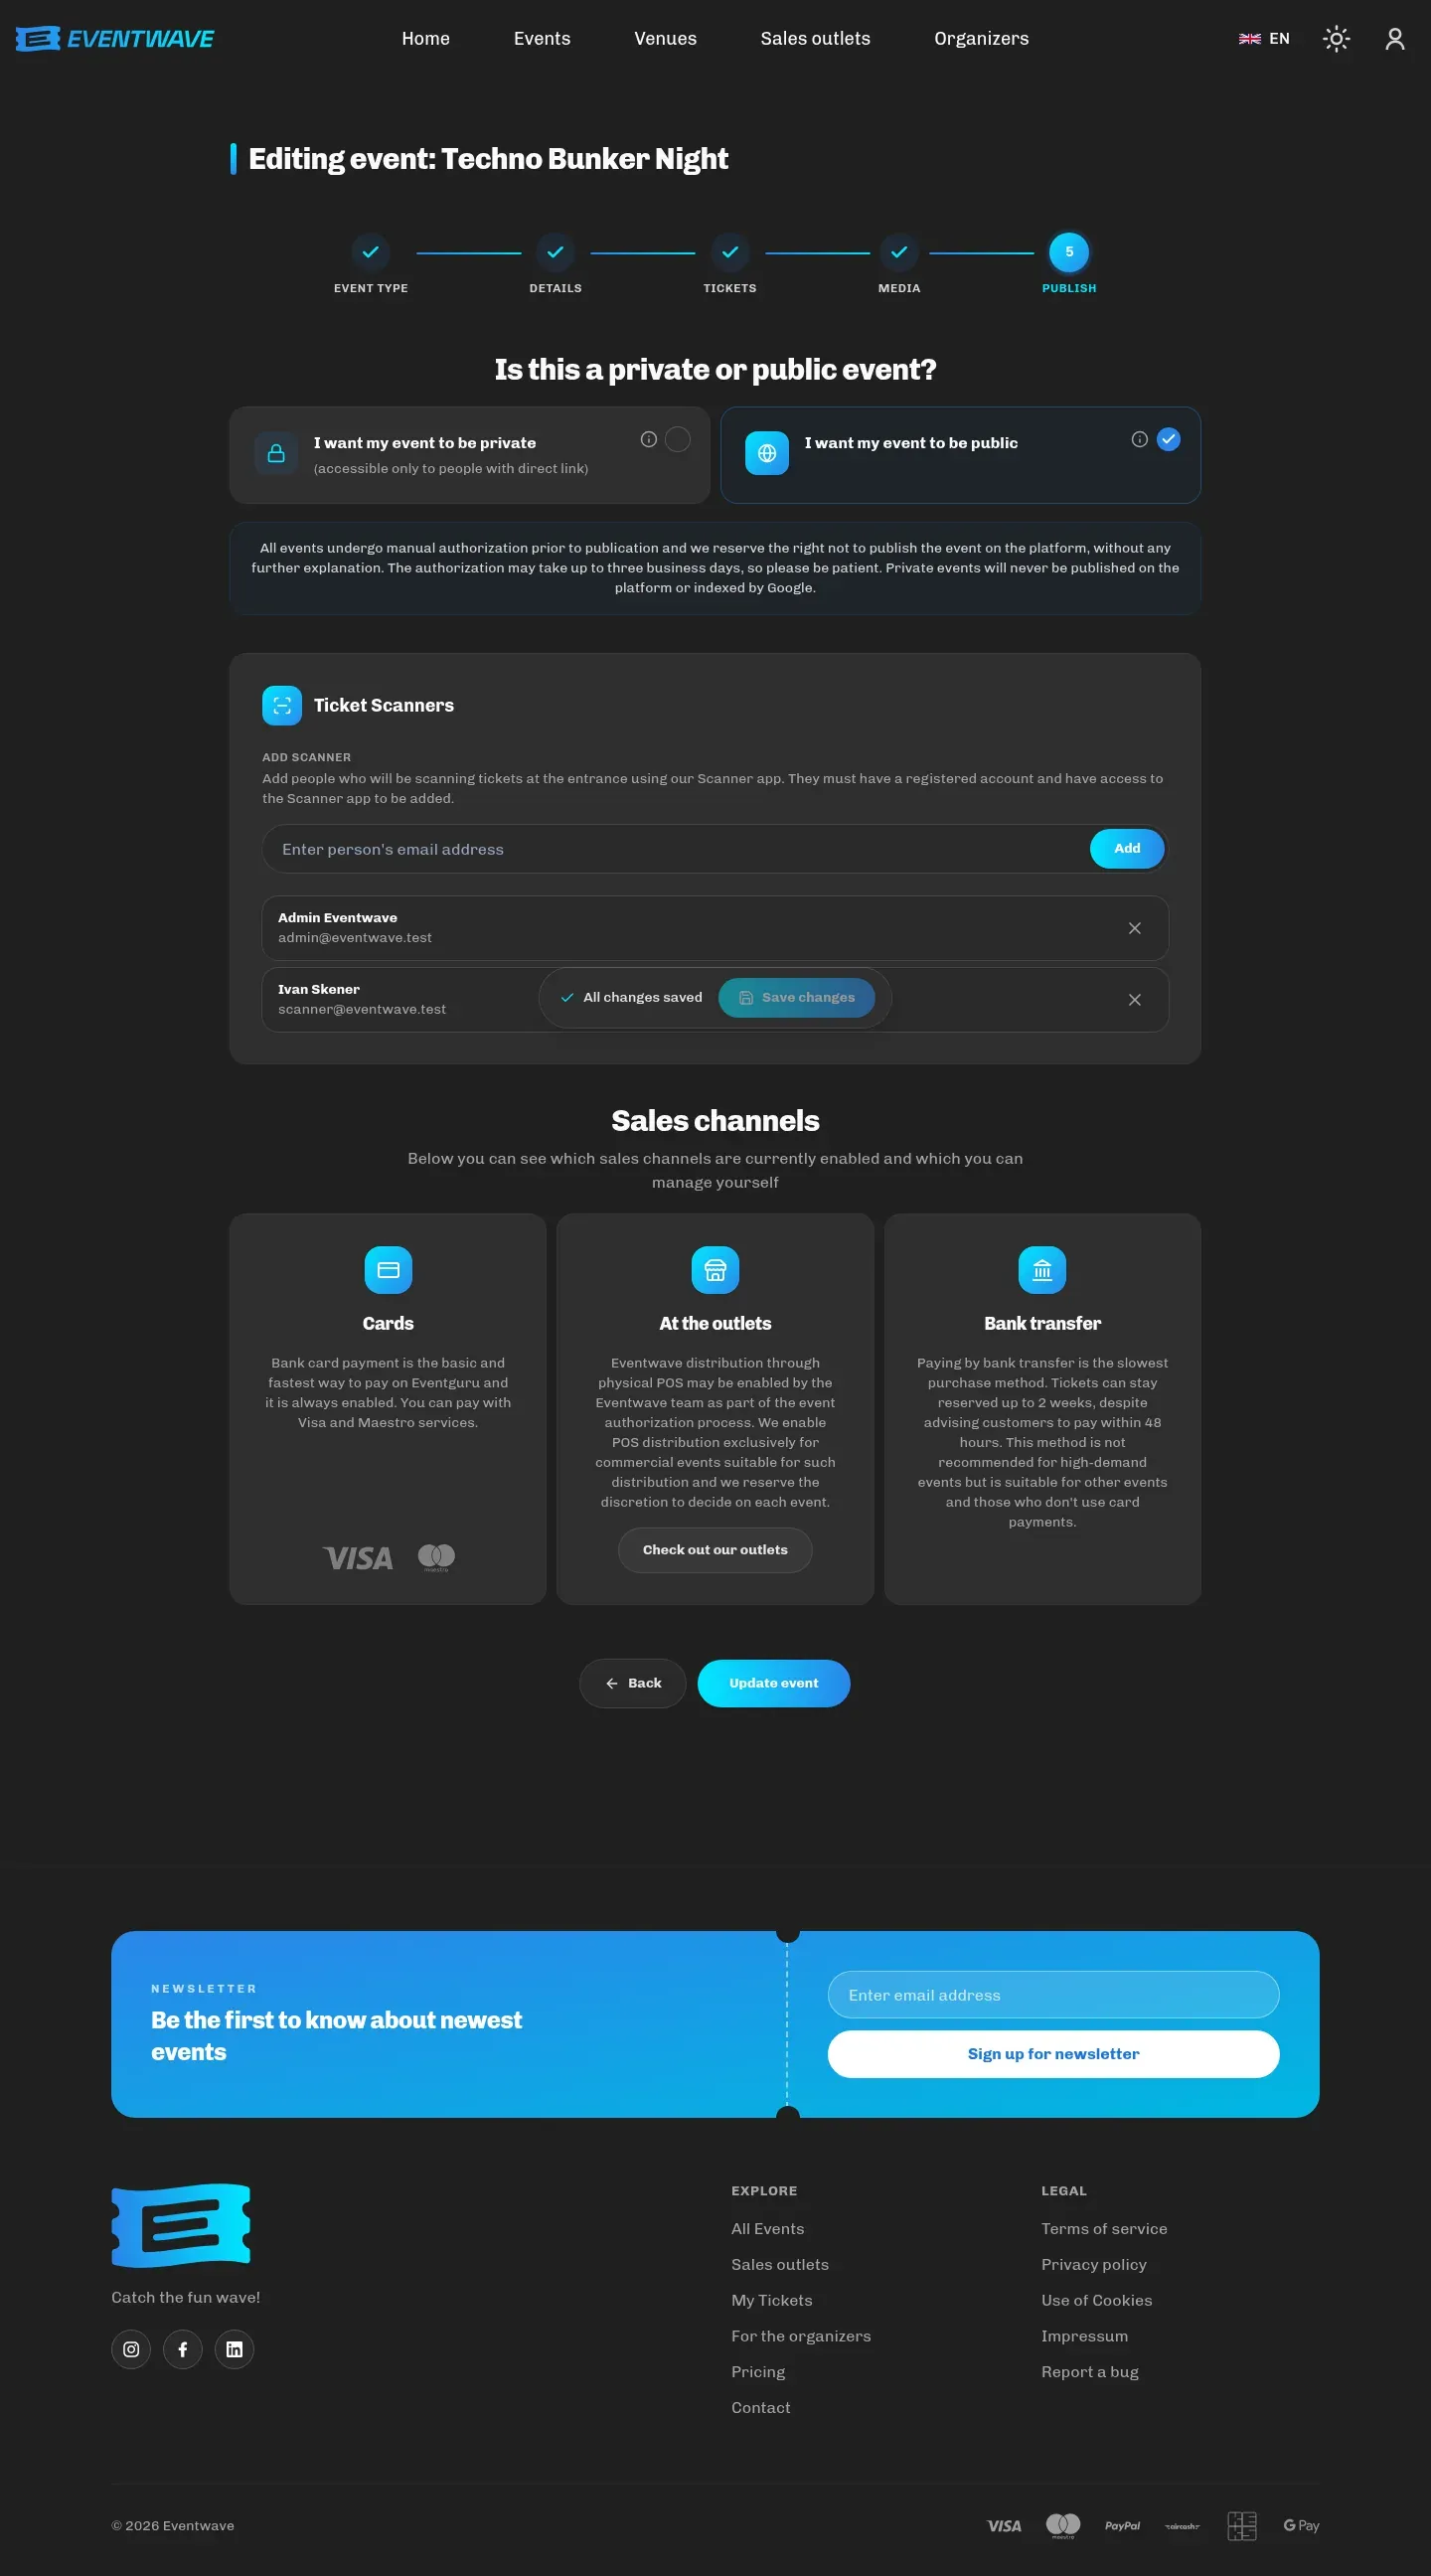
Section titled “Adding scanners”Available to verified organizers; scanners exist only on commercial events (free events have no tickets and no scanners), and a commercial event must have at least one scanner.
On the event (step 5 of the wizard / event editing), the Ticket Scanners section: enter the person’s email and click Add. If there are no scanners yet, the interface offers an Add yourself as a scanner? box with an Add me as scanner button, which adds your own account.
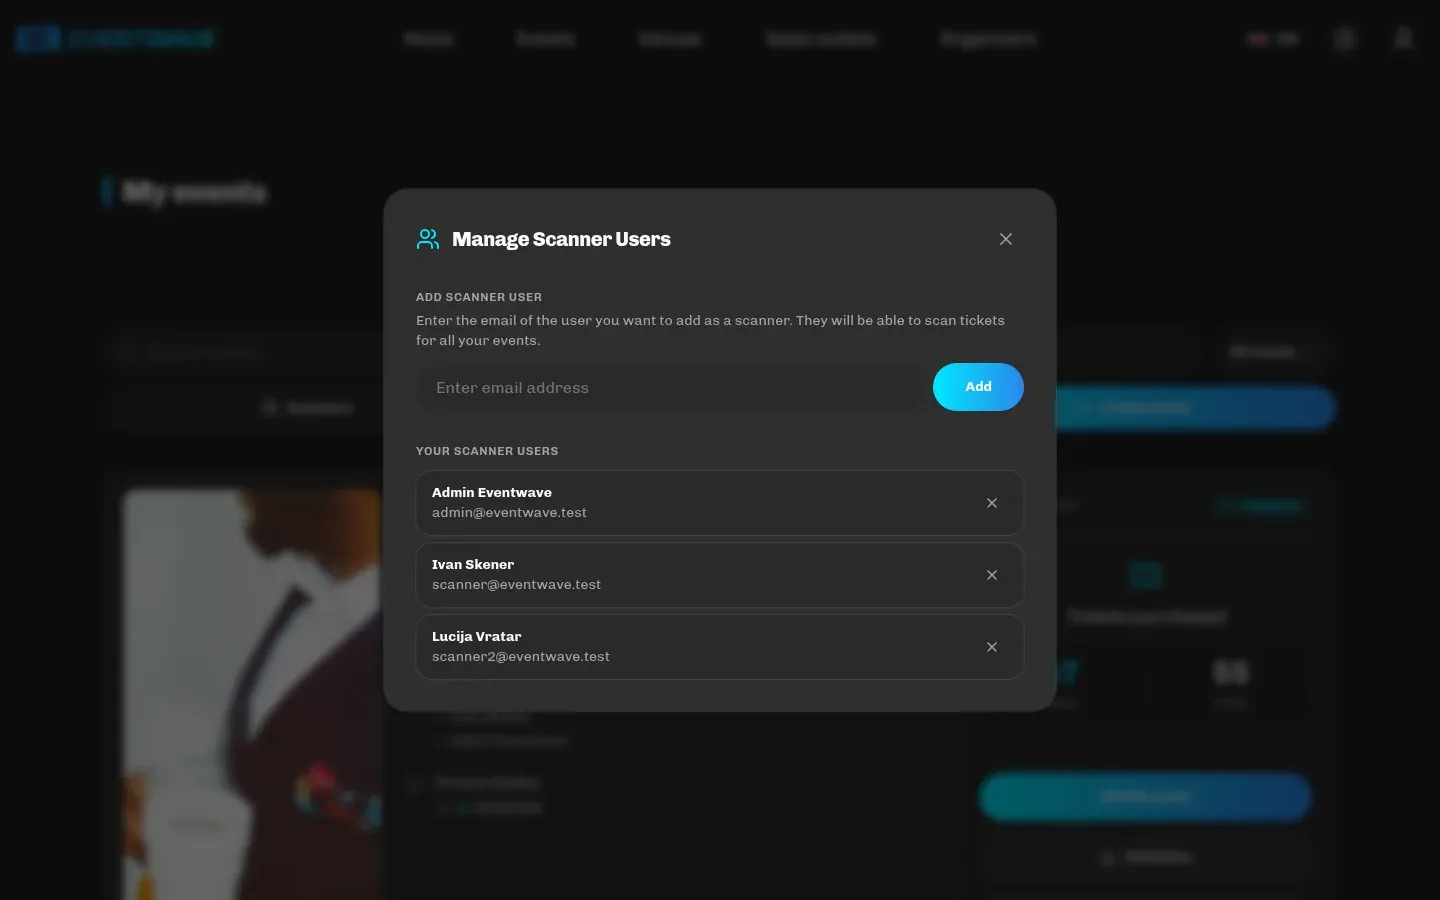
For all your events (My events → Scanners): a list of staff allowed to scan all your events (existing and future). Handy for regular collaborators. Removing a person from the list removes them from your events; if that leaves them with no events at all, they also lose the scanning permission itself until someone adds them again.
Scanners do not appear in the change review when editing, but save immediately. If you later switch an event from commercial to free, its assigned scanners are removed.
What scanning looks like
Section titled “What scanning looks like”- The person logs into the app with their account, opens the camera and scans QR codes. There is no need to pick an event, the app recognizes it from the ticket.
- The result is visible and audible: green = entry, red = rejected (with the reason and details of the previous scan), blue = exit, yellow = a connection problem. The full list of messages: Scan results.
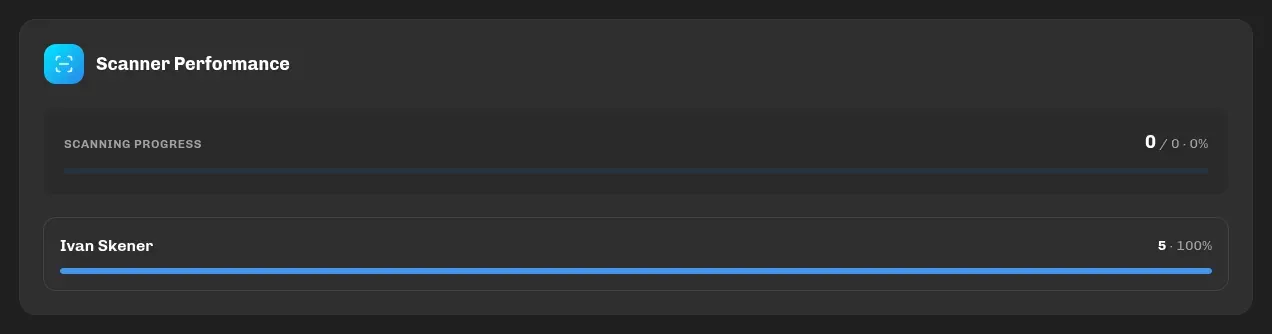
- Every scan is logged with the scanner’s name, the time and (with permission) the location, which is visible in the statistics (Scanner Performance, Peak Scanning Times, the Scanners list).
- Multiple devices can scan at the same time; double entry with the same ticket is impossible even across two devices.
Re-entry
Section titled “Re-entry”If you want attendees to be able to leave and come back, enable Allow re-entry in the event settings (step 3). Staff then see an Entry / Exit toggle in the app and scan every exit; the statistics show Currently Inside. Without this option a ticket is single-use. Details and tips for staff: Re-entry.
Manual interventions
Section titled “Manual interventions”- Invalidating a ticket (e.g. after a refund or abuse) and manually marking it as used are not available in the organizer interface. Contact Eventwave support with the order/ticket number; the scanner will then reject such a ticket as Ticket Invalidated or show Marked as used by the organizer.
- The app has no manual code entry and no search by name; an attendee whose code can’t be read can open the ticket from their email or My tickets on any device.
Before the event: checklist
Section titled “Before the event: checklist”- All staff have an Eventwave account and are added to the event (check the scanner count in My events).
- Staff installed the app and managed to log in the day before; they see the event on the Events tab.
- The event’s start and end times are realistic: tickets can only be scanned within that period (early entry for staff/guests = move the start earlier).
- Wi-Fi or mobile data at the entrance; a power bank.
- If re-entry is enabled: someone at the exit too, and a clear rule about who keeps the toggle on Exit.
- Staff know the rules for disputed cases (an already used ticket, personalized tickets + ID): see Scan results.